Content Menu
● The Benefits of Homemade Disposable Plates
● Method 1: Paper Mache Plates
>> Materials Needed:
>> Steps:
● Method 2: Upcycled Magazine Plates
>> Materials Needed:
>> Steps:
● Method 3: Origami Plates
>> Materials Needed:
>> Steps:
● Method 4: Pressed Leaf Plates
>> Materials Needed:
>> Steps:
● Method 5: Clay Plates
>> Materials Needed:
>> Steps:
● Decorating Your Homemade Plates
● Tips for Using Your Homemade Disposable Plates
● Environmental Impact
● Conclusion
● FAQ
>> 1. Are homemade disposable plates safe for food?
>> 2. How long do homemade disposable plates last?
>> 3. Can I make waterproof disposable plates at home?
>> 4. Are homemade disposable plates compostable?
>> 5. How can I make my homemade disposable plates more sturdy?
● Citations:
In today's environmentally conscious world, creating your own disposable plates at home is not only a fun and creative project but also a step towards sustainable living. This comprehensive guide will walk you through various methods to craft eco-friendly, disposable plates using readily available materials. Whether you're planning a party, looking for a unique craft project, or simply want to reduce your carbon footprint, these DIY disposable plate ideas are sure to inspire you.
The Benefits of Homemade Disposable Plates
Before we dive into the methods, let's consider why making your own disposable plates can be advantageous:
1. Eco-friendly: By using biodegradable materials, you're reducing plastic waste.
2. Cost-effective: Making plates at home can be cheaper than buying commercial disposables.
3. Customizable: You can create plates that match your event's theme or personal style.
4. Fun activity: It's a great project to do with kids or for craft enthusiasts.
Method 1: Paper Mache Plates
Paper mache is a versatile technique that can be used to create sturdy, disposable plates.
Materials Needed:
- Old newspapers or magazines
- Flour
- Water
- A bowl for mixing
- A plate to use as a mold
- Plastic wrap
- Scissors
Steps:
1. Create the paper mache paste by mixing 1 part flour with 2 parts water until smooth.
2. Cover your mold plate with plastic wrap.
3. Tear the paper into strips.
4. Dip each strip into the paste and layer them onto the mold, overlapping slightly.
5. Build up 3-5 layers for strength.
6. Allow to dry completely (usually overnight).
7. Carefully remove from the mold and trim edges if necessary.
Method 2: Upcycled Magazine Plates
Transform old magazines into colorful, unique plates.
Materials Needed:
- Old magazines
- Scissors
- Glue
- A plate for tracing
- Clear, non-toxic sealant
Steps:
1. Trace your plate shape onto several magazine pages.
2. Cut out the circles.
3. Stack 5-7 circles and glue them together.
4. Press under a heavy book to dry flat.
5. Once dry, seal with a non-toxic sealant for durability.

Method 3: Origami Plates
For a quick and easy option, try this origami plate technique.
Materials Needed:
- Large square sheets of paper (preferably biodegradable)
- Ruler
- Scissors (optional)
Steps:
1. Start with a square sheet of paper, colored side down.
2. Fold the paper in half diagonally, then unfold.
3. Fold each corner to the center point.
4. Fold the resulting smaller square in half, then unfold.
5. Fold the top two corners down to the center crease.
6. Fold the bottom point up to meet the top edge.
7. Tuck the side flaps inside to create the plate shape.
Method 4: Pressed Leaf Plates
For a truly natural option, try making plates from large leaves.
Materials Needed:
- Large, sturdy leaves (like banana or magnolia leaves)
- A flat, heavy object for pressing
- Non-toxic sealant
Steps:
1. Clean and dry your leaves thoroughly.
2. Press the leaves between heavy books for several days until completely flat.
3. Shape the pressed leaves into shallow bowls or plates.
4. Apply a non-toxic sealant to make them water-resistant.
Method 5: Clay Plates
For a more durable option that's still biodegradable, try air-dry clay plates.
Materials Needed:
- Air-dry clay
- Rolling pin
- Knife or clay cutter
- Bowl for mold
- Sandpaper
Steps:
1. Roll out the clay to about 1/4 inch thickness.
2. Cut a circle slightly larger than your desired plate size.
3. Drape the clay over an inverted bowl to shape.
4. Smooth edges and let dry completely (24-48 hours).
5. Sand any rough edges once dry.
Decorating Your Homemade Plates
Once you've created your plates, you might want to decorate them to suit your style or event theme. Here are some ideas:
- Paint designs using non-toxic, food-safe paints
- Stamp patterns using vegetable stamps
- Add pressed flowers or leaves for a natural look
- Write personalized messages or names for place settings
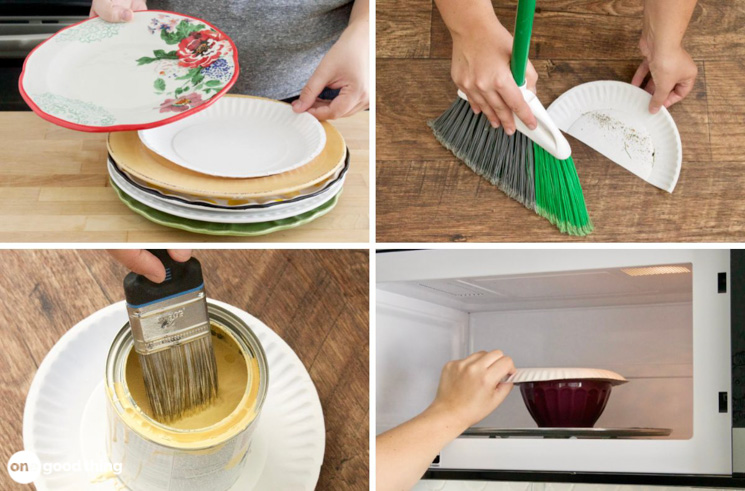
Tips for Using Your Homemade Disposable Plates
To get the most out of your DIY plates, keep these tips in mind:
1. For added durability, consider double-layering your plates.
2. If using for wet foods, apply a food-safe sealant.
3. Compost your plates after use (if made from biodegradable materials).
4. For hot foods, place a small paper doily on the plate first.
Environmental Impact
By creating your own disposable plates from biodegradable materials, you're making a positive impact on the environment. These homemade alternatives decompose much faster than traditional plastic or foam plates, reducing landfill waste and potential harm to wildlife.
Conclusion
Making disposable plates at home is a rewarding and eco-friendly endeavor. Not only do you get to express your creativity, but you also contribute to reducing environmental waste. Whether you choose paper mache, upcycled magazines, origami, pressed leaves, or clay, each method offers a unique way to create functional and attractive disposable plates. By following the steps outlined in this guide, you can craft plates that are perfect for any occasion while minimizing your ecological footprint.

FAQ
1. Are homemade disposable plates safe for food?
Yes, homemade disposable plates can be safe for food when made with food-safe materials and sealants. Always ensure that any paints or decorations used are non-toxic and food-safe.
2. How long do homemade disposable plates last?
The durability of homemade disposable plates varies depending on the method and materials used. Paper mache and clay plates can last for several uses if handled carefully, while origami plates are best for single use.
3. Can I make waterproof disposable plates at home?
While it's challenging to make completely waterproof plates at home, you can increase water resistance by applying food-safe sealants or wax coatings to your homemade plates.
4. Are homemade disposable plates compostable?
Most homemade disposable plates made from paper, leaves, or other natural materials are compostable. However, plates with non-biodegradable sealants or decorations may not be suitable for composting.
5. How can I make my homemade disposable plates more sturdy?
To increase the sturdiness of your homemade plates, try using multiple layers of material, reinforcing edges with additional paper or clay, or choosing naturally rigid materials like sturdy leaves or thick paper.
Citations:
[1] https://exponustraders.com/blog/how-to-make-disposable-paper-plates/
[2] https://www.youtube.com/watch?v=4jhrssvQN_k
[3] https://www.instructables.com/DIY-Paper-Plates/
[4] https://www.whisktogether.com/2013/03/06/make-your-own-celebration-plate/
[5] https://www.youtube.com/watch?v=Al4id8i-g44
[6] https://www.hwtm.com/diy-tutorial-custom-party-plates/
[7] https://www.youtube.com/watch?v=qy-zdHa_64s
[8] https://www.youtube.com/watch?v=27GJUtO5xxQ


